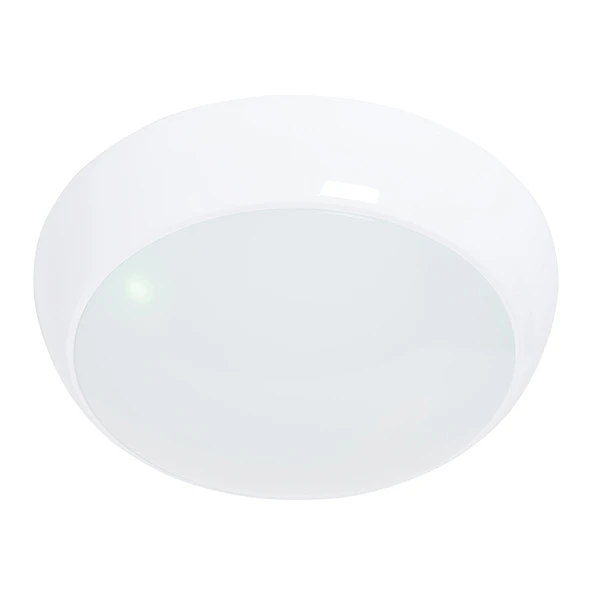

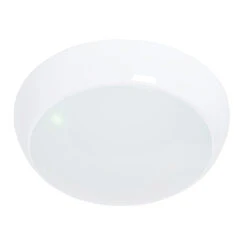
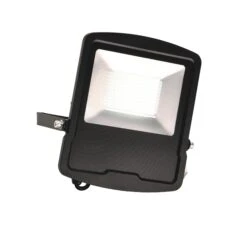
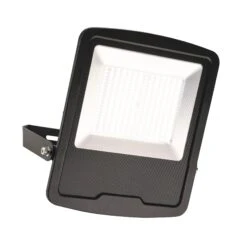
Vigor Microwave Sensor – Outdoor Security Wall Light – 240v – White Polycarbonate 16w 4200k 1200 Lumens IP65
Original price was: $88.92.$62.24Current price is: $62.24.
- Free and fast shipping worldwide
- Experience the Best Quality
- Online assistance, always at your service.
- Shop with confidence, we guarantee quality.

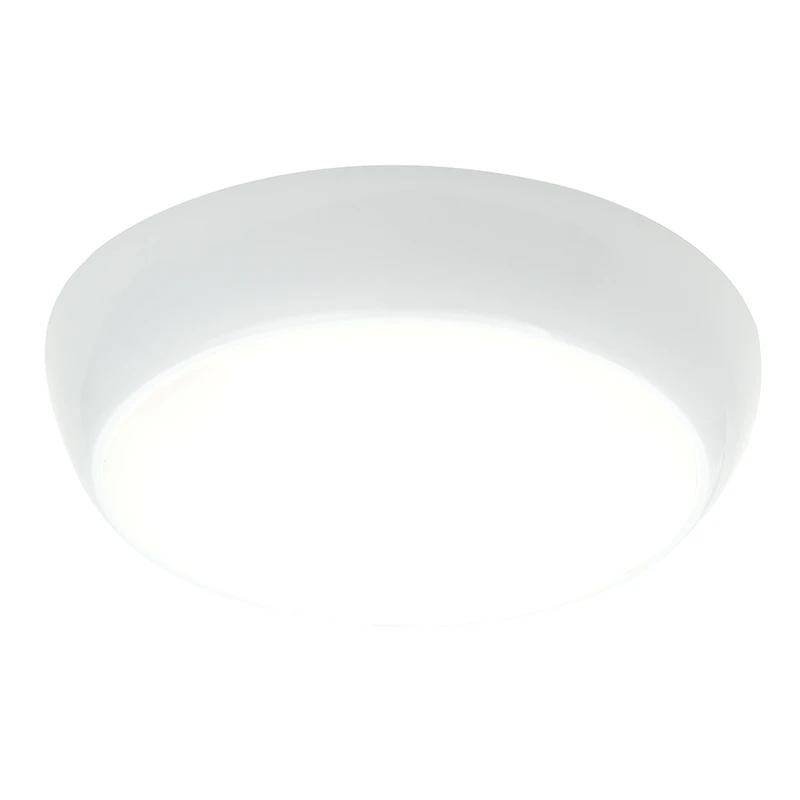
Vigor LED Microwave – 240v White Polycarbonate 16w 4200k 1200 Lumens IP65 Emergency Security Light
The high quality Vigor internal or external bulkhead is built to last, manufactured from a strong thermoplastic with a shatterproof
polycarbonate diffuser making it suitable for both commercial and domestic applications. Featuring a twist and lock design,
these fittings are quick and easy to install; available in a choice of standard, emergency and sensor options. Non maintained option choose code 50695.
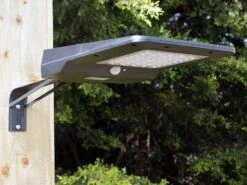
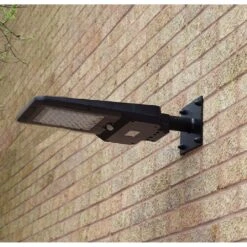
- Suitable for indoor or outdoor use
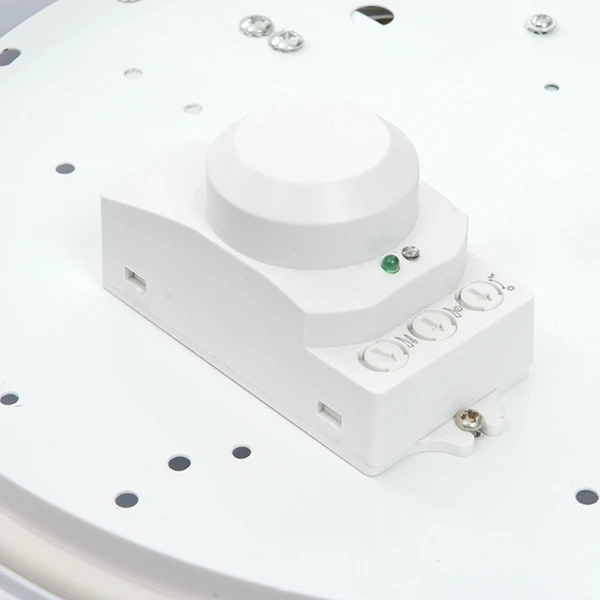
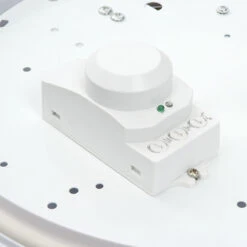
- Complete with built in Microwave sensor
- 360 /160 degree detection angle, 0 to 50lux sensitivity, 10% to 100% adjustable range with a 5 sec – 15 min timer function
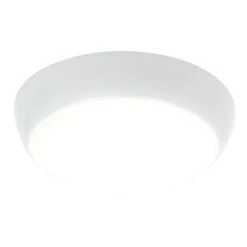
- Gloss white & opal pc
- Constructed from polycarbonate
- Complete with LED driver
- 16W LED module (SMD 5630) Cool White & 2W LED module (SMD 5630) Cool White (Included)
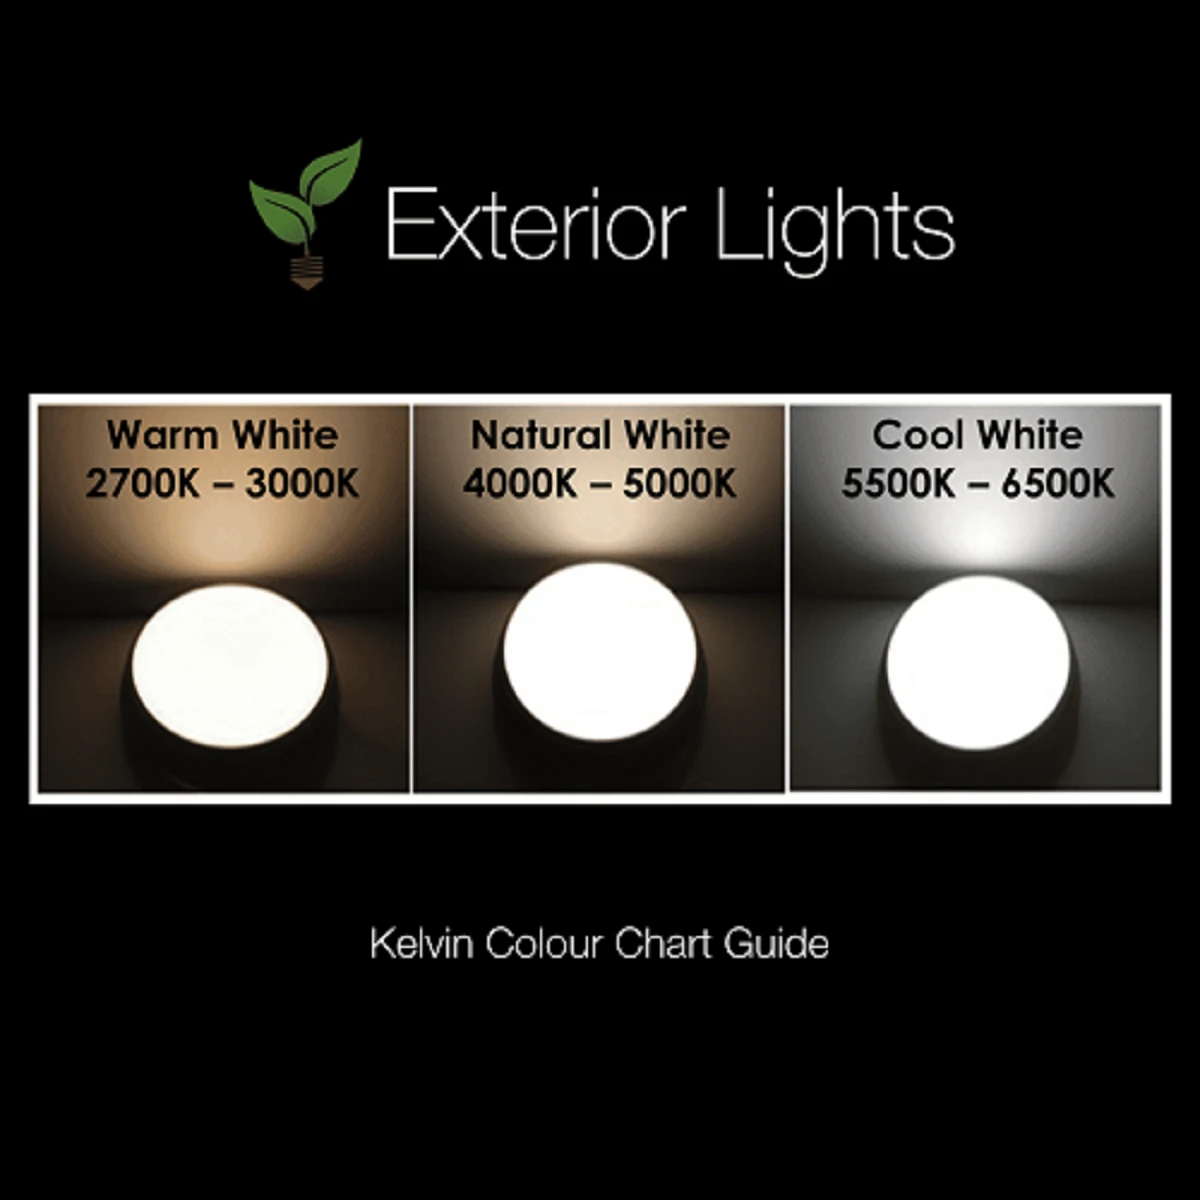
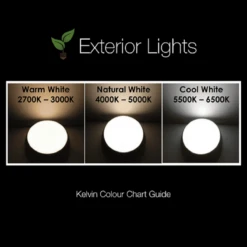
- K: 4200 Lm: 1200 Lm/W: 75
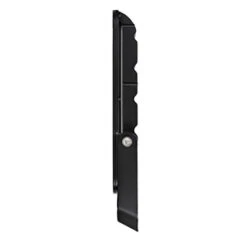
- Can be wall mounted
- Proj: 110mm Dia: 325mm
- Emergency maintained fitting
- Class 1
- 2+3YR Extended Warranty
- Weight: 1.6 Kg
Installation 220 – 240v – See Instructions & Data Sheets Tab
=”center”>
Existing fittings must be completely removed before installation of a new product. Before removing the existing fitting, carefully note the position of each set of wires. Note that the switch is turned off before installation. Undo screws and set aside. Hold the product in place and mark the position of the holes. Ensure the wall is capable of holding the weight of the product, or if fitting into a ceiling, ensure there is a joist at the point of fixing to support the weight of the product.
Take care to avoid damaging any concealed wiring and pipes. The correct fixings should be used for brick, cavity walls or plasterboard. Fix into position. Piece the hole in the grommet, and pull the cable through. Wire as details in the download.
Ensure that the screws and cable entry points are sealed to maintain the IP rating of the product. Refit the shade ensuring the seals are correctly located. Replace fuse or circuit breaker and switch on. Your light is now ready for use.
The unit works in maintained mode. The fitting can be switched separately on or off. The unit will charge automatically (LED is green). A single LED remains on when the supply is interrupted. Locate the fly lead on the inverter and plug into the connector. Replace fuse or circuit breaker and switch on. Ensure that the source is mains 240v~50Hz. Verify that the green LED is illuminated, this confirms that the batteries are charging. Charge the battery for at least 16 hours before first use.
If the LED is not illuminated then there may be no A.C. Supply, the battery has not been connected properly or the terminal or internal circuit have failed. The battery should be re-charged and checked every three months. The battery should be discharged and the duration of the lamp in emergency mode checked every 6 months.
| Emergency Maintained | Yes, No |
|---|---|
| Sensor | Microwave Sensor |
| Watts | 16W |
| Warranty | 2 Years |
| Voltage Voltage of fitting, Light Bulb or Transformer | 240v |
| Technical | Complete with LED driver |
| Sensor Range | 360 /160° detection angle, with a 5 sec – 15 min timer function |
| Sensor_Description | Complete with built in Microwave sensor |
| Materials | Polycarbonate |
| Additional Information | Complete with fixing accessories |
| Lumens | 1200 lm |
| Colour Temperature | 4000k |
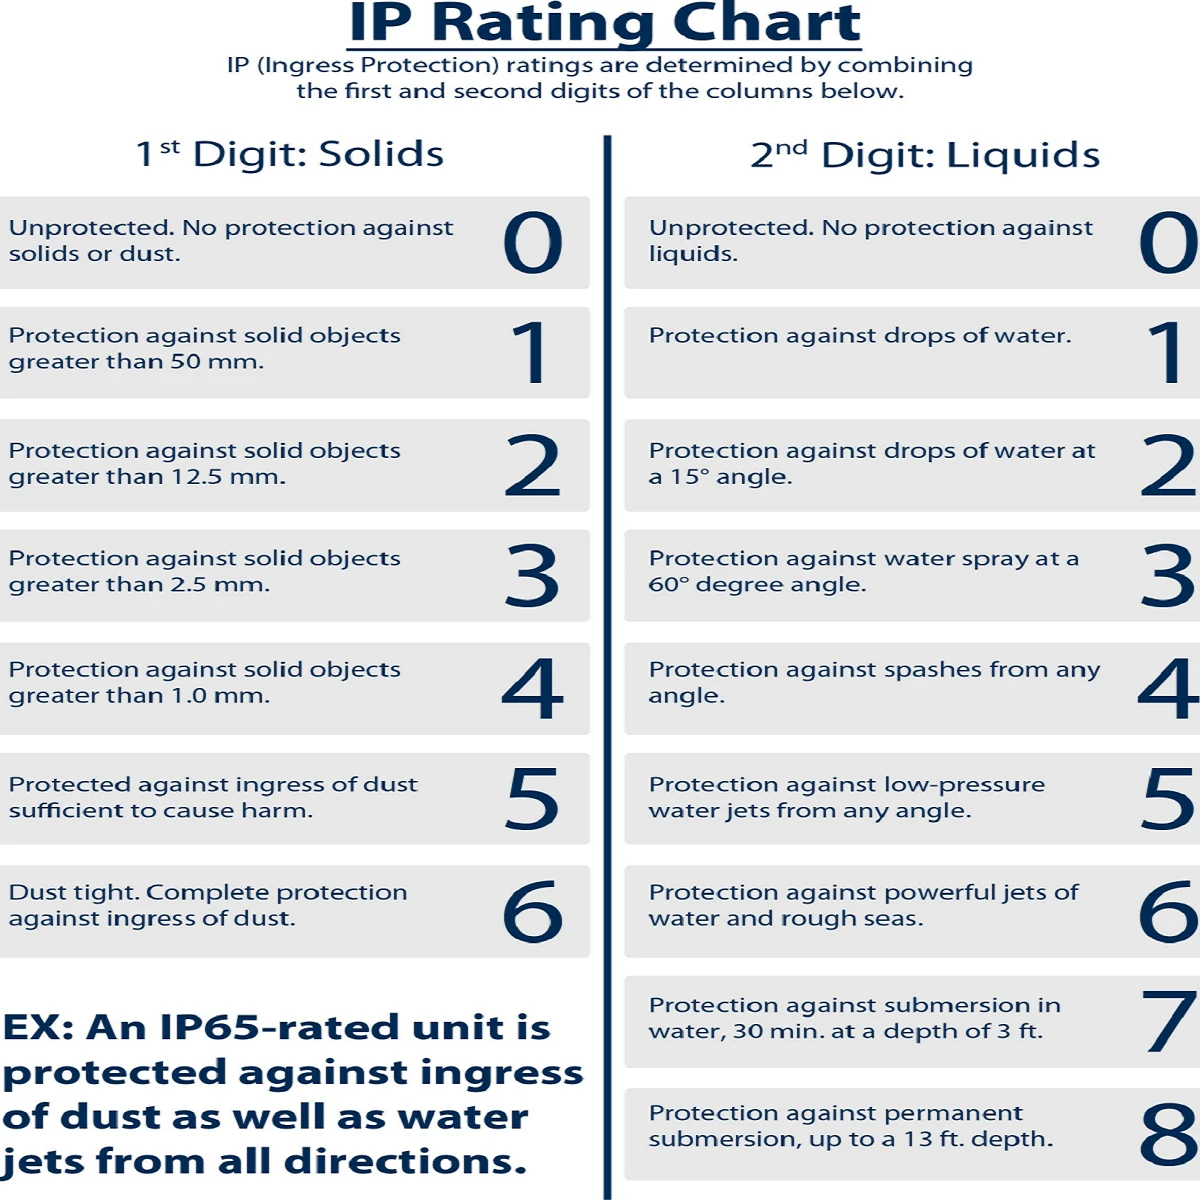
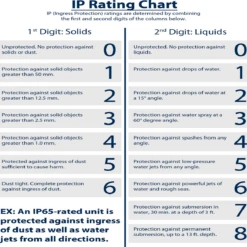
| IP Rating Ingress Protection - a two digit code representing water resistance. | IP65 |
| Dimensions | Proj: 110mm Dia: 325mm |
| Colour Colour of fitting | White |
| Bulb Type Bulb type used for fittings | Integral LED |
| Weight | 1.6kg |
Be the first to review “Vigor Microwave Sensor – Outdoor Security Wall Light – 240v – White Polycarbonate 16w 4200k 1200 Lumens IP65”
Related products
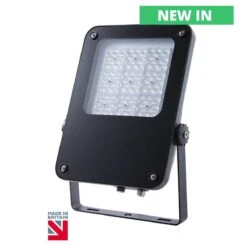

LED Flood Lights

LED Flood Lights
V-Tac Slimline LED Floodlight 10w 220- 240v 3000k Warm White Black Frame IP65 800 Lumens

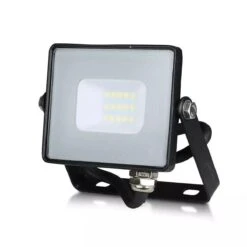
LED Flood Lights

LED Flood Lights
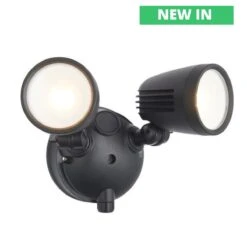
Salde Black Powder Coated Twin Adjustable 240v Spot Wall Light IP54 2 X 10w LED 3000K-4000K
Reviews
There are no reviews yet.