


Stellus Contesa Photocell Sensor – Outdoor Lantern Wall Light – 240v 304 Stainless Steel E27 IP44
Original price was: $39.60.$27.72Current price is: $27.72.
- Free and fast shipping worldwide
- Experience the Best Quality
- Online assistance, always at your service.
- Shop with confidence, we guarantee quality.

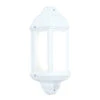
Stellus Contesa WL S – Photocell Lantern 240v – 304 Stainless Steel E27 IP44 Wall Lantern Light With Photocell Sensor
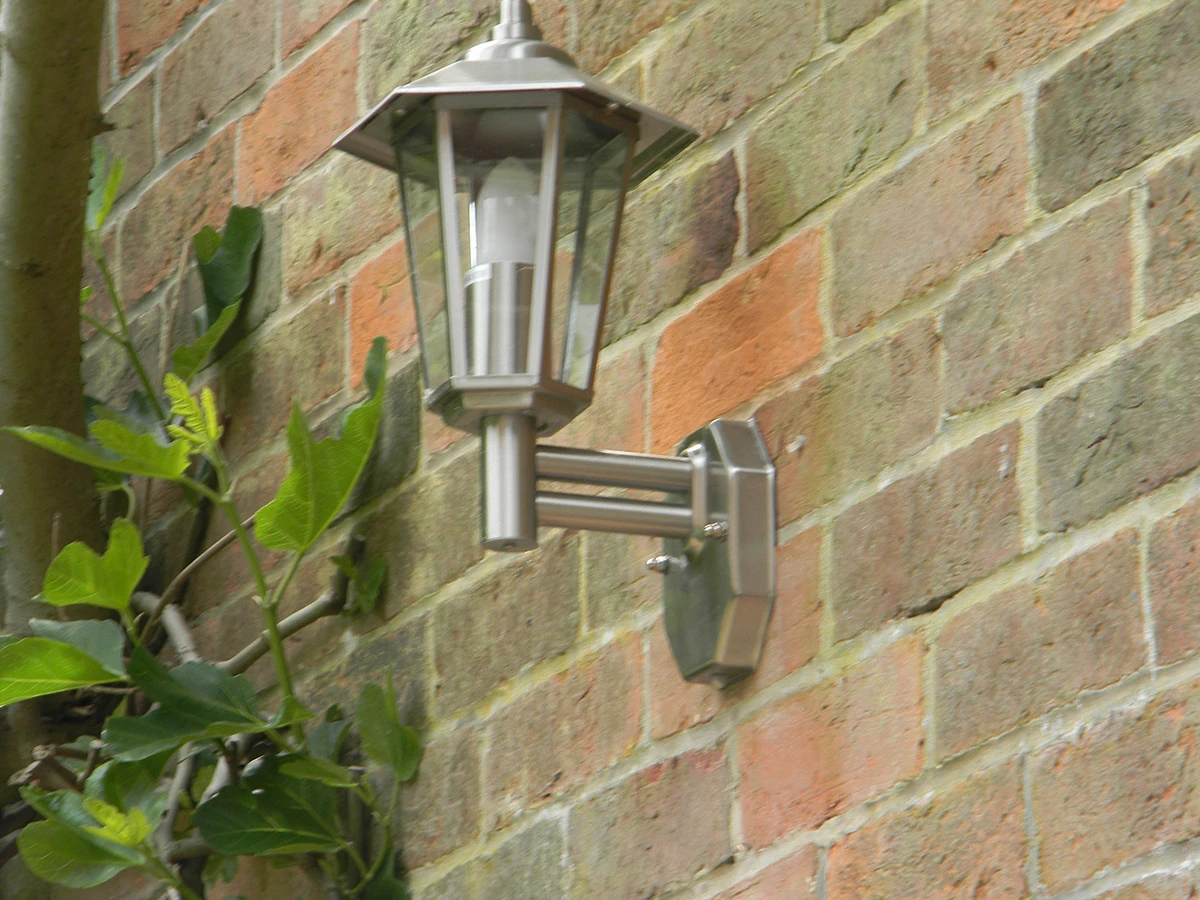
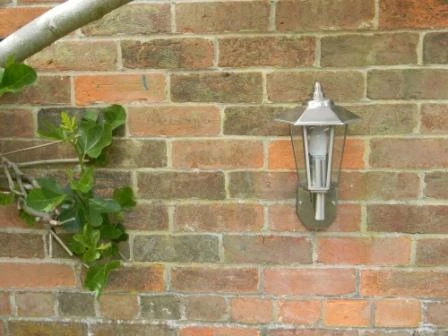
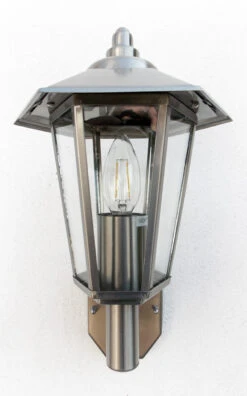
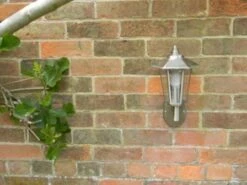
The Contesa stainless steel wall light with photocell is a contemporary take on a traditional style Lantern. Made from
stainless steel, including external screws, this outdoor wall light should not rust and is designed to last. The Contesa tapered
wall lantern has 6 glass faces and looks great illuminating patios, entrances and walkways.
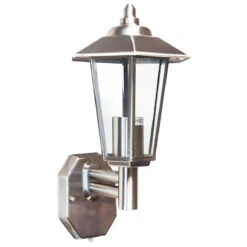
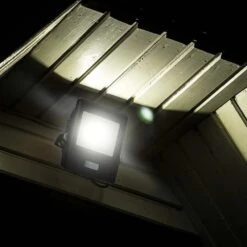
The built in photocell, also known as a dusk till dawn night sensor, provides added security by automatically switching the
lamp on at dusk and off again at dawn. The lamp only functions in darkness when additional light is required, not during daylight so less
energy is wasted.
This fitting also comes in a PIR option code number LLSS191.
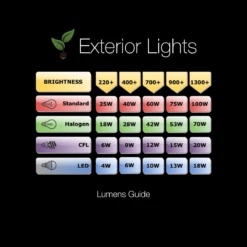
Lamp Colour (Kelvins)
The colour of a lamp is defined as a measurement called kelvins. A standard GLS light bulb in your house would be 2,700 kelvins
which is in the warm colour spectrum and a lamp with 5,000 kelvins would be at the very cold white spectrum.
Installation – See Download for pdf instructions
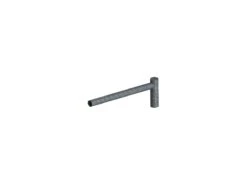
1. Remove the 2x dome nuts and washers (a) from the front stainless steel mounting plate and remove the back mounting
plate. TIP: the photocell unit is attached to the back mounting plate but wired into the fitting. Therefore an extra person
may be required to help hold the fitting during the installation of this product.
2. Hold the wall mount in the desired location and mark the positions of the two mounting screws (and power inlet cable
if required) through the appropriate apertures. Note: the holes in the mounting bracket may also need to be drilled prior
to marking.
3. Drill out the 2 mounting holes using a 6mm masonry drill bit and insert the supplied wall plugs.
4. Once the power cable has been installed, thread through the rubber grommet of the mounting plate making sure at least
100mm (4 inches) is pulled through.
5. Ensure the 2 hexagonal securing bolts (b) are still inserted through the back of the mounting plate, and then secure
the mounting plate in place with the two mounting screws provided. TIP: To make sure the hexagonal bolts do not fall out
during installation, simply screw on the dome nuts removed in point 1. These can then be removed once the mounting plate
has been secured to the wall.
6. Strip back the 3 inner wires of the mains power cable (if not already prepared) and screw into the correct terminals
of the 4 way terminal block which is attached to the main body of the fitting (c), ensuring the two brown Live wires (L)
are connected to one another, the two blue Neutral wires (N) are connected to one another and the two yellow and green Earth
wires are connected to one another. Do not remove the pre-wired photocell – See diagram.
7. Once the wiring is complete, replace the main body of the fitting over the hexagonal bolts, ensuring they protrude
through the holes of the fitting, and onto the back mounting plate. Secure in place with the 2x washers and dome nuts removed
in step 1.
TIP: The rubber seal that fits between the plastic wall mount and the stainless steel front mount can easily become dislodged
when installing the light. To prevent this, try spreading a thin film of clear silicone in the groove of the seal and then
push over the back plate making sure it is level (ordinary bathroom sealant is fine). Upend the wall plate and weigh down
using a brick or other heavy object and leave overnight before installing the next day. The silicone acts as glue holding
the seal in place.
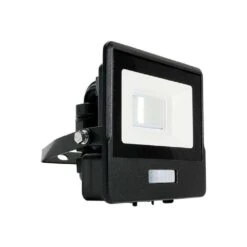
| Sensor | Photocell dusk to dawn, PIR Motion Sensor (passive infra red) |
|---|---|
| Bulb Type Bulb type used for fittings | E27 |
| Colour Colour of fitting | Silver |
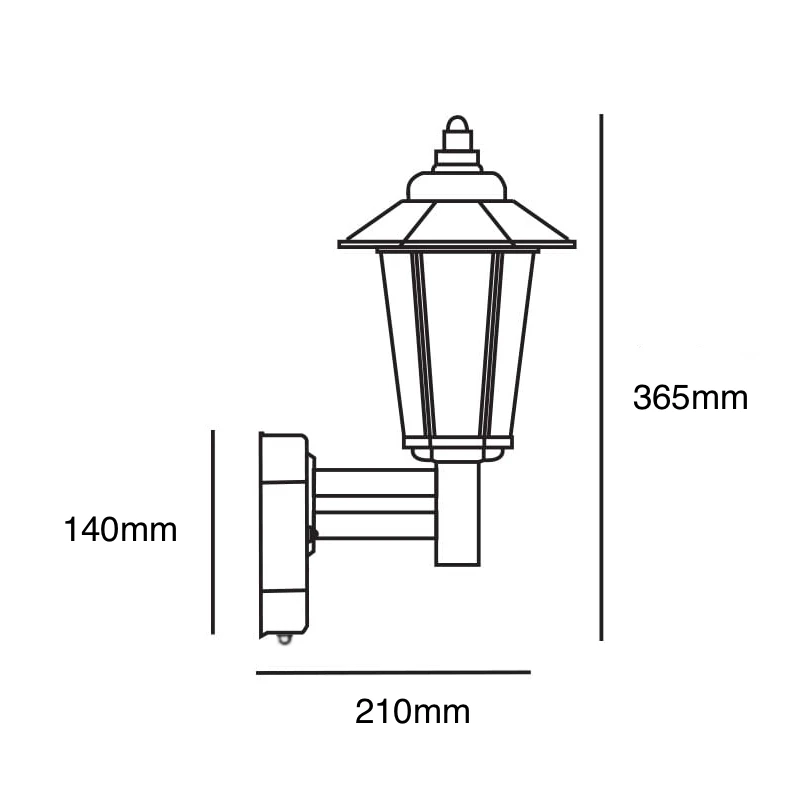
| Depth | 210mm |
| Height | 365mm |
| IP Rating Ingress Protection - a two digit code representing water resistance. | IP44 |
| Materials | Stainless Steel |
| Voltage Voltage of fitting, Light Bulb or Transformer | 240v |
| Warranty | 1 Year |
Be the first to review “Stellus Contesa Photocell Sensor – Outdoor Lantern Wall Light – 240v 304 Stainless Steel E27 IP44”
Related products
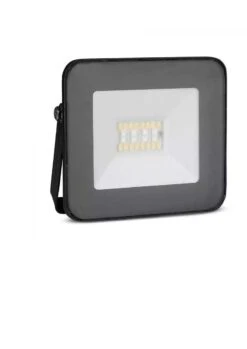
LED Flood Lights
20w Smart Floodlight RGB+3in1 CCT Dimmable In Black Or White 240v


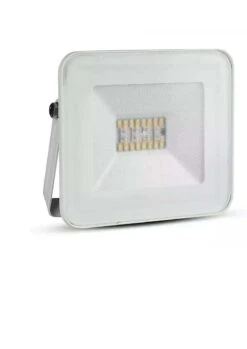
LED Flood Lights
Salde IP65 50w Cool White Floodlight With Optional PIR, Photocell And Microwave Sensors – Black 240v
LED Flood Lights
V-Tac PIR LED Floodlight 10w 220- 240v 3000k Warm White Black Frame IP65 735 Lumens
Reviews
There are no reviews yet.