


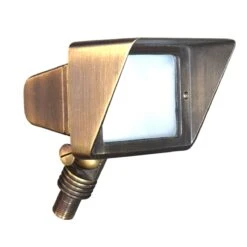
Palin PIR Sensor – Outdoor Fixed Down Security Light – 240v – Black Powder Coated IP44 GU10
Original price was: $38.61.$27.03Current price is: $27.03.
- Free and fast shipping worldwide
- Experience the Best Quality
- Online assistance, always at your service.
- Shop with confidence, we guarantee quality.

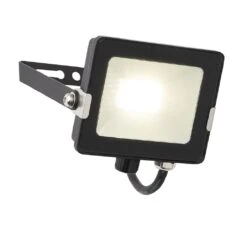
Palin Fixed Down Light 240v – Black Powder Coated IP44 GU10 Security Wall Light With Manual Override PIR Sensor
mains lamp fitting with a built in manual override PIR sensor. One of our long selling and popular high selling exterior
security wall lights and one which compliments the outside of your home.
The mains 240v fitting has a clear glass lens and you can use 1 x GU10 LED bulbs up to a maximum wattage of 7w.
The PIR sensor sits at the base of the wall mount and has a detection angle of 110 degrees. The timer can be set
from as little as 5 seconds to a maximum of 5 minutes.
The sensor will be activated once it is dark and will switch the light on when it detects someone within it’s range.
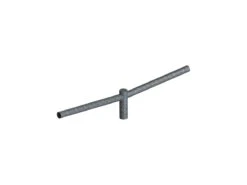
Comes in a choice of twin wall fitting code 75433 or single wall light code 75435 as well as other colour finishes in
white and stainless steel codes 75430, 75431, 75440 and 75442
NOT SUITABLE FOR COASTAL ENVIRONMENTS
- Complete with built in PIR
- 110° detection angle, 8m maximum range with a 5 sec – 5 min timer function
- 10 lux – 2000 lux
- Powder Coated Black
- Constructed from stainless steel (304) & glass
- IP44
- Proj: 110mm H: 150mm W: 70mm
- Class 1
- 2 Years Warranty
- Weight: 0.6 Kg
Lamp Colour (Kelvins)
The colour of a lamp is defined as a measurement called kelvins. A standard GLS light bulb in your house would
be 2,700 kelvins which is in the warm colour spectrum and a lamp with 5,000 kelvins would be at the very
cold white spectrum. Getting the right colour temperature of a lamp does matter as the warm colour wavelength
helps to soften the tone of the area and gives a warm soft relaxed feel and ideal for colourful flower beds
and rockery areas especially with wooden bark and at the other end of the scale a 4,000 to 5,000 kelvin lamp
colour would be used against a light background such as white walls or to accentuate grey blueish foliage
in shrubs and small trees. When you buy a new, energy efficient bulb, keep your application and colour
scheme in mind and make sure to buy the bulb with a colour temperature to match.
Installation – See attached Instructions & Data Sheet
Existing fittings must be completely removed before installation of a new product. Before removing the existing
fitting, carefully note the position of each set of wires.
Note that the switch is turned off before installation.
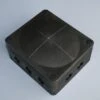
pegs. Carefully pierce a small hole in the rubber gasket in the centre of the mounting box to allow the cable
to pass through.
Thread the cable through the hole, ensuring the drain hole is at the base of the mounting box.
Fix the mounting box to the wall using the screws and plugs supplied (B). Ensure the wall is capable of holding
the weight of the product. Take care to avoid damaging any concealed wiring and pipes. The correct fixings should
be used for brick or cavity walls.
• Wire as detailed Wiring diagram in attached download.
Fit the product back on to the mounting box and refit washers (D) and dome nuts (C), tighten dome nuts to secure.
Fit the bulbs.
Replace fuse or circuit breaker and switch on. Your light is now ready for use
| Colour | Black, Silver, White |
|---|---|
| Product Type | Single Wall Light, Twin Wall light |
| Sensor | PIR Motion Sensor (passive infra red) |
| Bulb Type Bulb type used for fittings | GU10 |
| Colour Colour of fitting | Black |
| Height | 150mm |
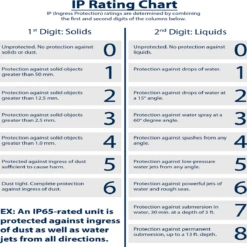
| IP Rating Ingress Protection - a two digit code representing water resistance. | IP44 |
| Materials | Stainless Steel |
| Projection | 110mm |
| Voltage Voltage of fitting, Light Bulb or Transformer | 240v |
| Warranty | 2 Years |
| Width | 70mm |
Be the first to review “Palin PIR Sensor – Outdoor Fixed Down Security Light – 240v – Black Powder Coated IP44 GU10”
Related products
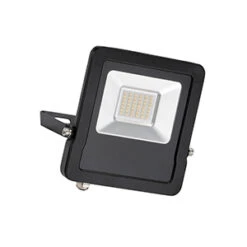

LED Flood Lights
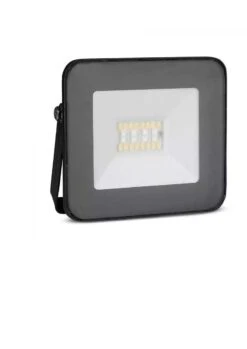
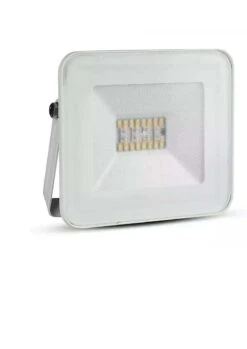
20w Smart Floodlight RGB+3in1 CCT Dimmable In Black Or White 240v


LED Flood Lights
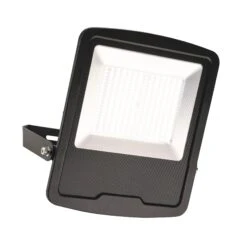
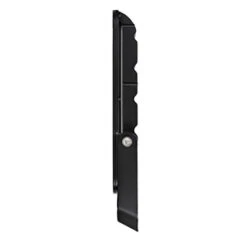
Salde IP65 10w Cool White Floodlight With Optional PIR, Photocell And Microwave Sensors – Black 240v
LED Flood Lights
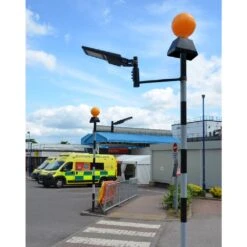
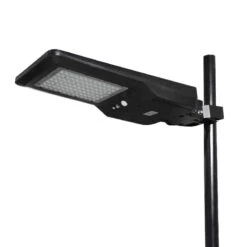
ViaMAX HIWAY MAX – PIR Motion Sensor Solar Street Light – Black – 4800 Lumens (40W)

LED Flood Lights
Salde IP65 20w Cool White Floodlight With Optional PIR, Photocell And Microwave Sensors – Black 240v
Reviews
There are no reviews yet.