


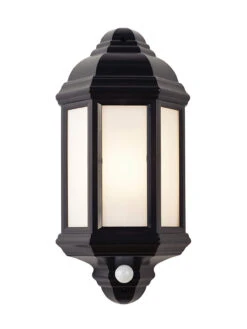


Halbury PIR Sensor – Outdoor Lantern Wall Light – 240v – Matt Black Polycarbonate E27 IP44
Original price was: $35.10.$24.57Current price is: $24.57.
- Free and fast shipping worldwide
- Experience the Best Quality
- Online assistance, always at your service.
- Shop with confidence, we guarantee quality.

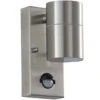
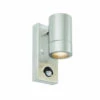
Halbury PIR Lantern 240v – Matt Black Polycarbonate E27 IP44 Security Wall Light With PIR Sensor
lantern look. This version has photocell and PIR technology so is activated by movement, making it ideal for pathways and
doorways and as extra security.
- Complete with built in Photocell & PIR
- 20 lux on, 2000 lux off. 130 degree detection angle, 8m maximum range with a 5 second to 5 min timer function
- Matt black textured & frosted pc
- Constructed from polycarbonate
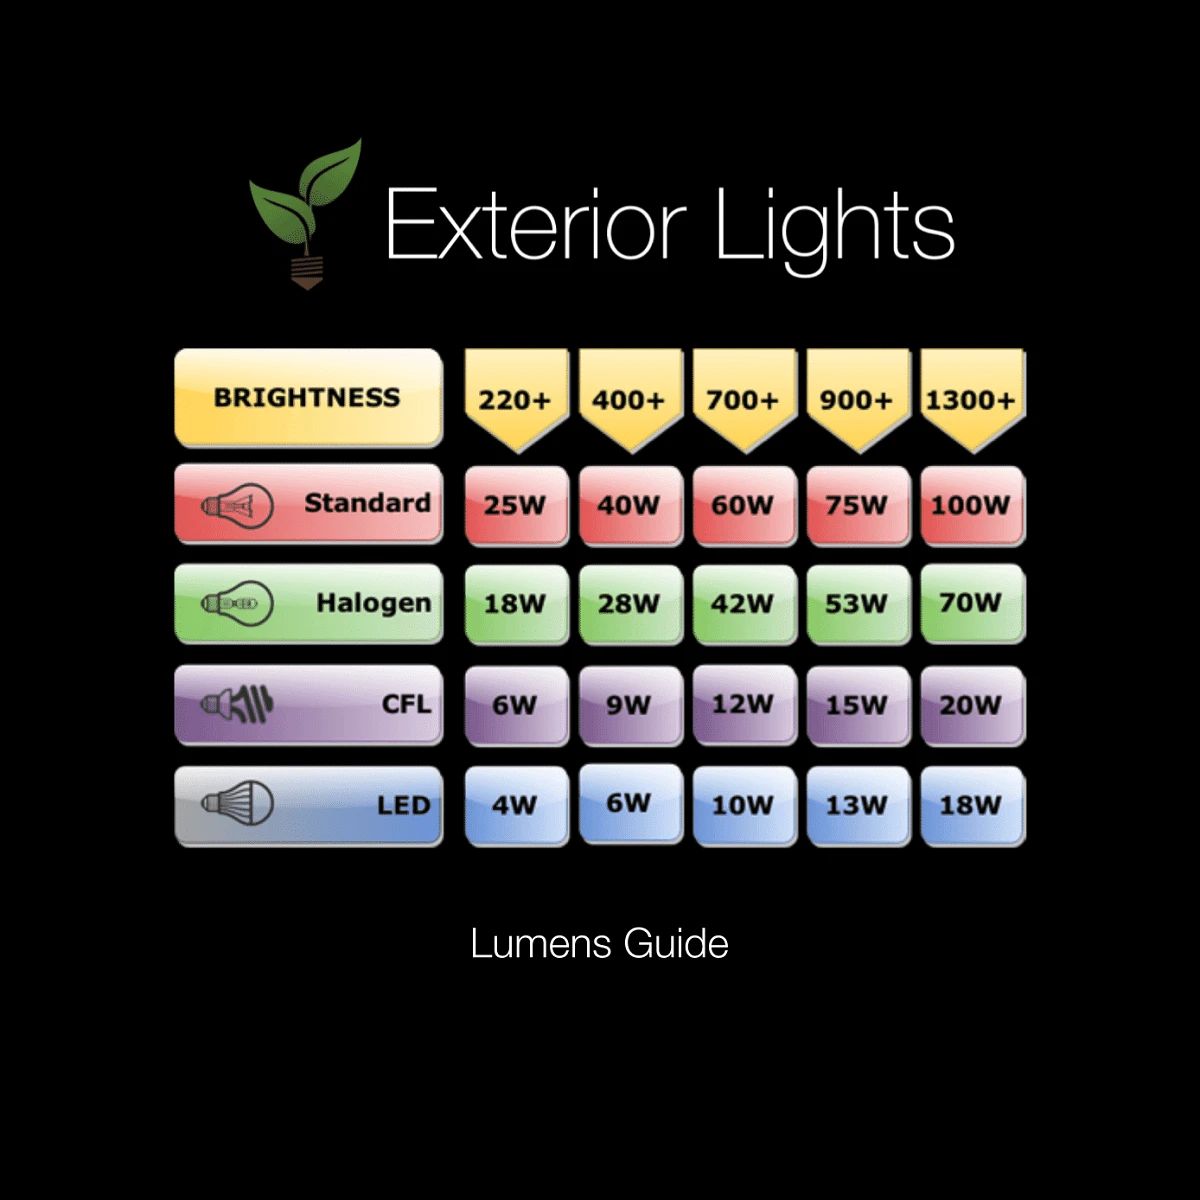
- 60W Max E27 GLS (bulb not included)
- IP44
- Proj: 98.1mm H: 365.5mm W: 180mm
- Class 2
- 2YR Warranty
- Weight: 0.6 Kg
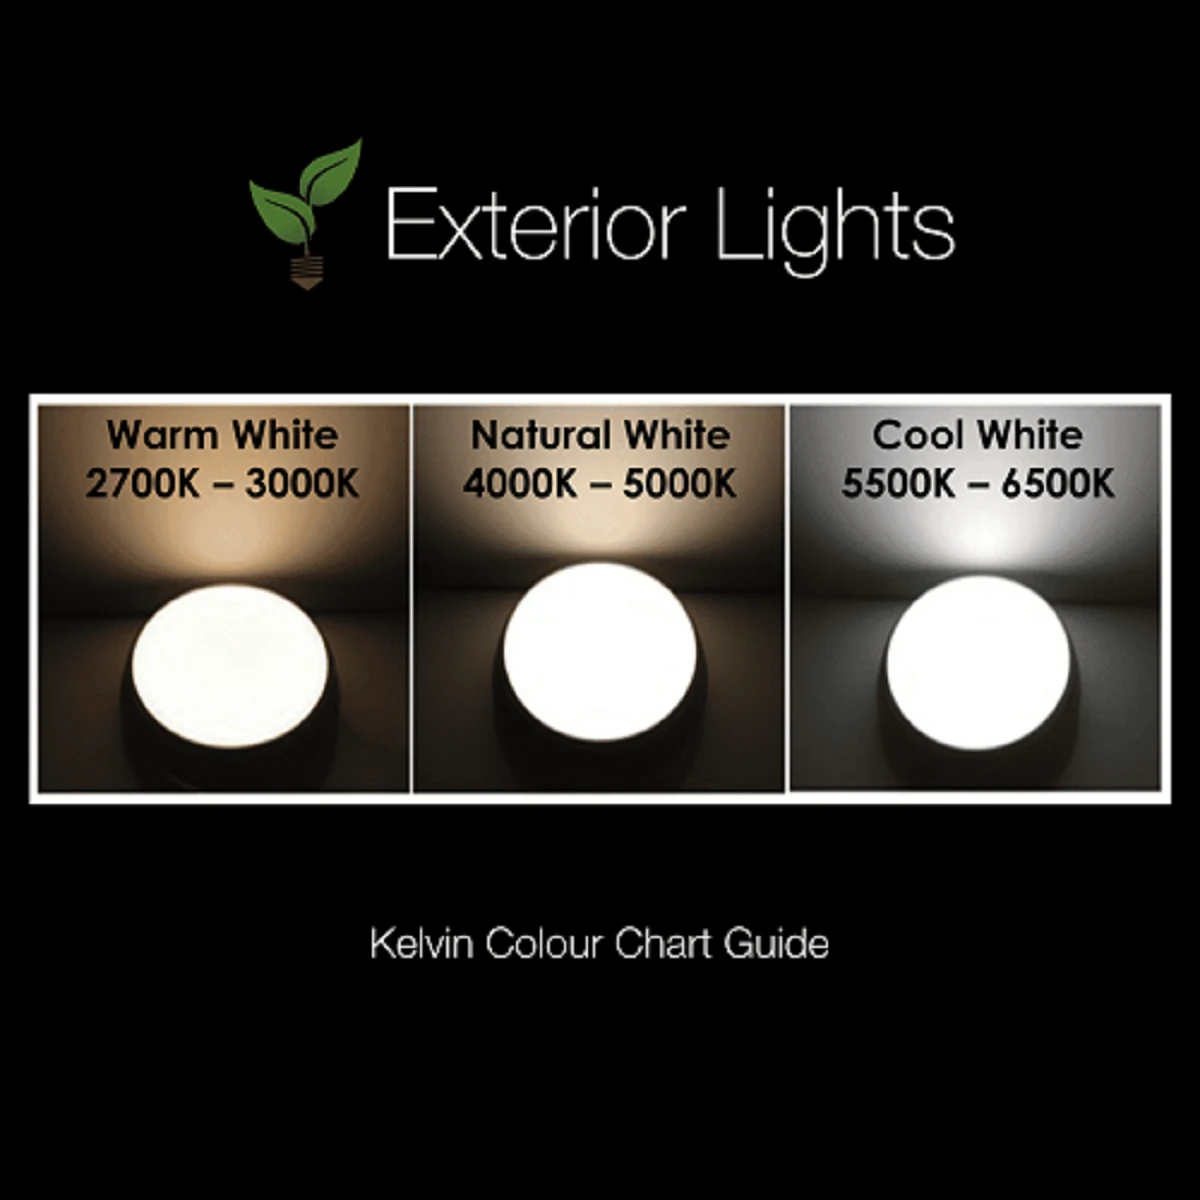
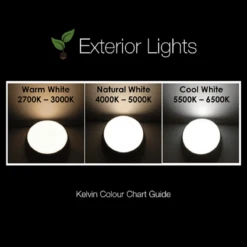
Lamp Colour (Kelvins)
The colour of a lamp is defined as a measurement called kelvins. A standard GLS light bulb in your house would
be 2,700 kelvins which is in the warm colour spectrum and a lamp with 5,000 kelvins would be at the very
cold white spectrum.
Installation – See Download for pdf instructions
1. Decide on the position of the light fitting / or remove existing light fitting. Take a note of the position of the
electrical connections. Ensure there is a solid mounting surface, for example a brick wall, to support the weight of the
light fitting.
2. Remove the shade from the backplate (1 ), retaining the screws for re-use, and use as a template to mark the screw
holes ensuring the bracket is horizontal. Make the holes, and secure the backplate with appropriate fittings (2).
3. Remove the diffuser box (3) and fit the bulb (4). NOTE: Never fit bulbs of a higher wattage than those specified
on the label (as these may cause overheating and damage the fitting). If the diffuser becomes damaged or broken, it must
be replaced.
4. Remove the terminal box and connect the house wiring to the terminal block (5). When you are sure of the connections
wrap the Terminal Block and overlap the wiring both sides with 2 layers of insulation tape. NOTE: This is a Class II fitting
and must NOT be earthed. Replace the terminal box (6), ensuring a good seal.
5. Replace the shade over the backplate (7), ensuring a good seal, and secure in place.
6. Turn on the power and test.
The PIR sensor settings (8) can be altered by turning the dials under the fitting marked ‘LUX’ and ‘TIME’
The unit must be installed in a vertical position, and fitted 1.8m – 2.5m above the ground.
The PIR sensor can be adjusted using the LUX and TIME dials.
The detection angle is set at 130 degrees, but the distance can be set using the LUX dial (A). The maximum detection distance
is Sm.
The PIR will start activating when the light level drops to 20 LUX and will continue to activate until the light level rises
to 2000 LUX. When adjusting the sensitivity (detection distance) in daylight it will be necessary to cover the sensor to
simulate night time.
The length of time that the light is on can be adjusted by turning the ‘Time’ dial (B), which can be altered between 5 seconds
to 5 minutes duration.
| Additional Information | complete with Built in PIR |
|---|---|
| Bulb Type Bulb type used for fittings | E27 |
| Colour Colour of fitting | Black |
| Dimensions | Proj: 100mm H: 370mm W: 180mm |
| Height | 365.5mm |
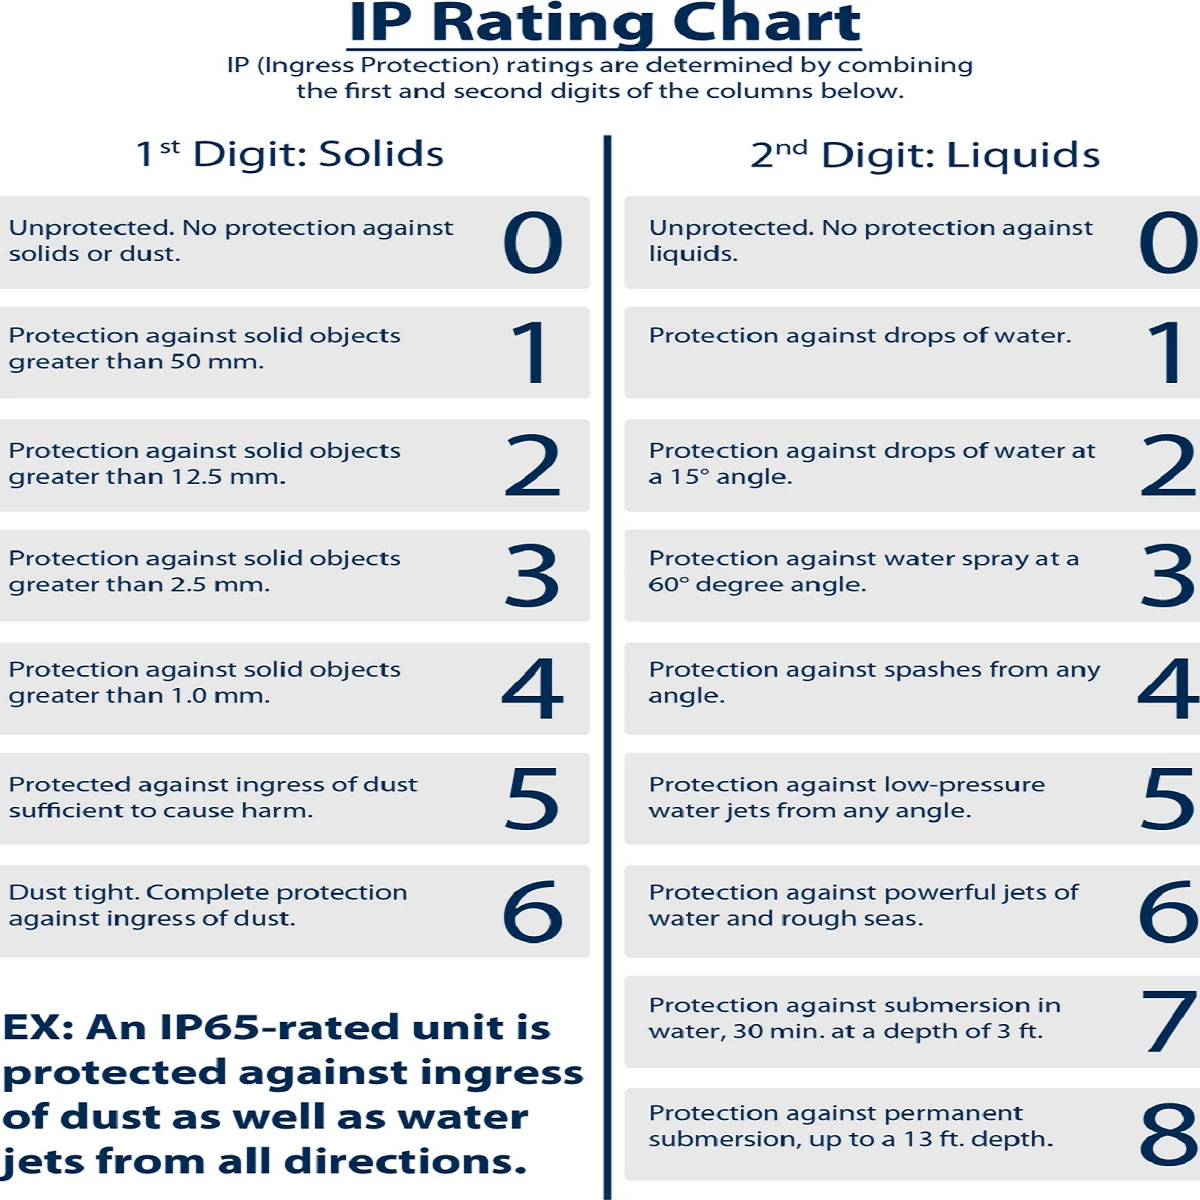
| IP Rating Ingress Protection - a two digit code representing water resistance. | IP44 |
| Materials | Aluminium |
| Max Wattage | 60W |
| Projection | 98.1mm |
| Sensor | PIR Motion Sensor (passive infra red) |
| Voltage Voltage of fitting, Light Bulb or Transformer | 240v |
| Warranty | 2 Years |
| Weight | 0.06kg |
| Width | 180mm |
Be the first to review “Halbury PIR Sensor – Outdoor Lantern Wall Light – 240v – Matt Black Polycarbonate E27 IP44”
Related products

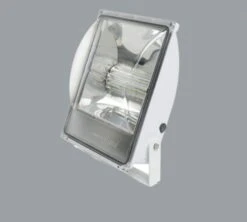
LED Flood Lights
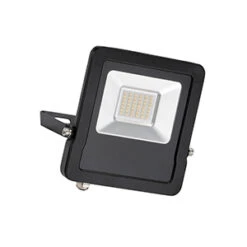
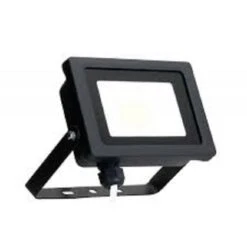
Salde IP65 50w Cool White Floodlight With Optional PIR, Photocell And Microwave Sensors – Black 240v
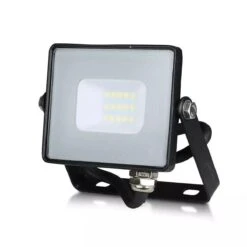

LED Flood Lights
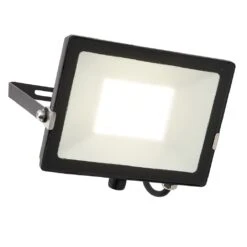
V-Tac Slimline LED Floodlight 10w 220- 240v 3000k Warm White Black Frame IP65 800 Lumens
LED Flood Lights
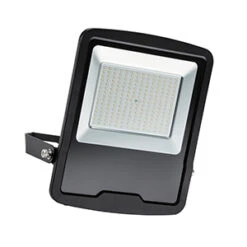
Regor LED 6 – 240v – White – 45w IP65 Cool White 5000k 5827 Lumens – Non Corrosive Floodlight
LED Flood Lights


LED Flood Lights
Salde IP65 10w Cool White Floodlight With Optional PIR, Photocell And Microwave Sensors – Black 240v
Reviews
There are no reviews yet.