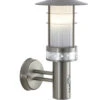


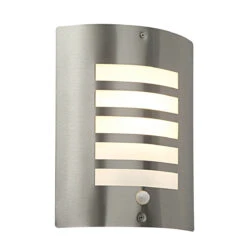


Bianco PIR Sensor – Outdoor Wall Light – 240v – Brushed 304 Stainless Steel E27 IP44
Original price was: $40.01.$28.01Current price is: $28.01.
- Free and fast shipping worldwide
- Experience the Best Quality
- Online assistance, always at your service.
- Shop with confidence, we guarantee quality.

Bianco PIR – 240v – Brushed 304 Stainless Steel E27 IP44 Security Wall Light With PIR Sensor
The Bianco PIR is a modern, brushed stainless steel (304) exterior wall bracket with an opal diffuser made from polycarbonate. This fitting is compatible with LED lamps and is IP44 rated. It comes complete with built in PIR sensor, offering security and energy efficiency all a the same time.
NOT SUITABLE FOR COASTAL MARINE ENVIRONMENTS.
- Complete with built in PIR
- 100° detection angle, 7m maximum range with a 6 sec – 5 min timer function
- Brushed 304 stainless steel & opal pc
- Constructed from stainless steel (304) & polycarbonate
- Max 60W E27 GLS (bulb not included)
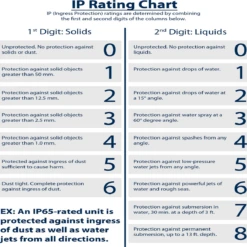
- IP44
- Proj: 92mm H: 300mm W: 216mm
- Class 2
- 2YR Warranty
- Weight: 1.2 Kg
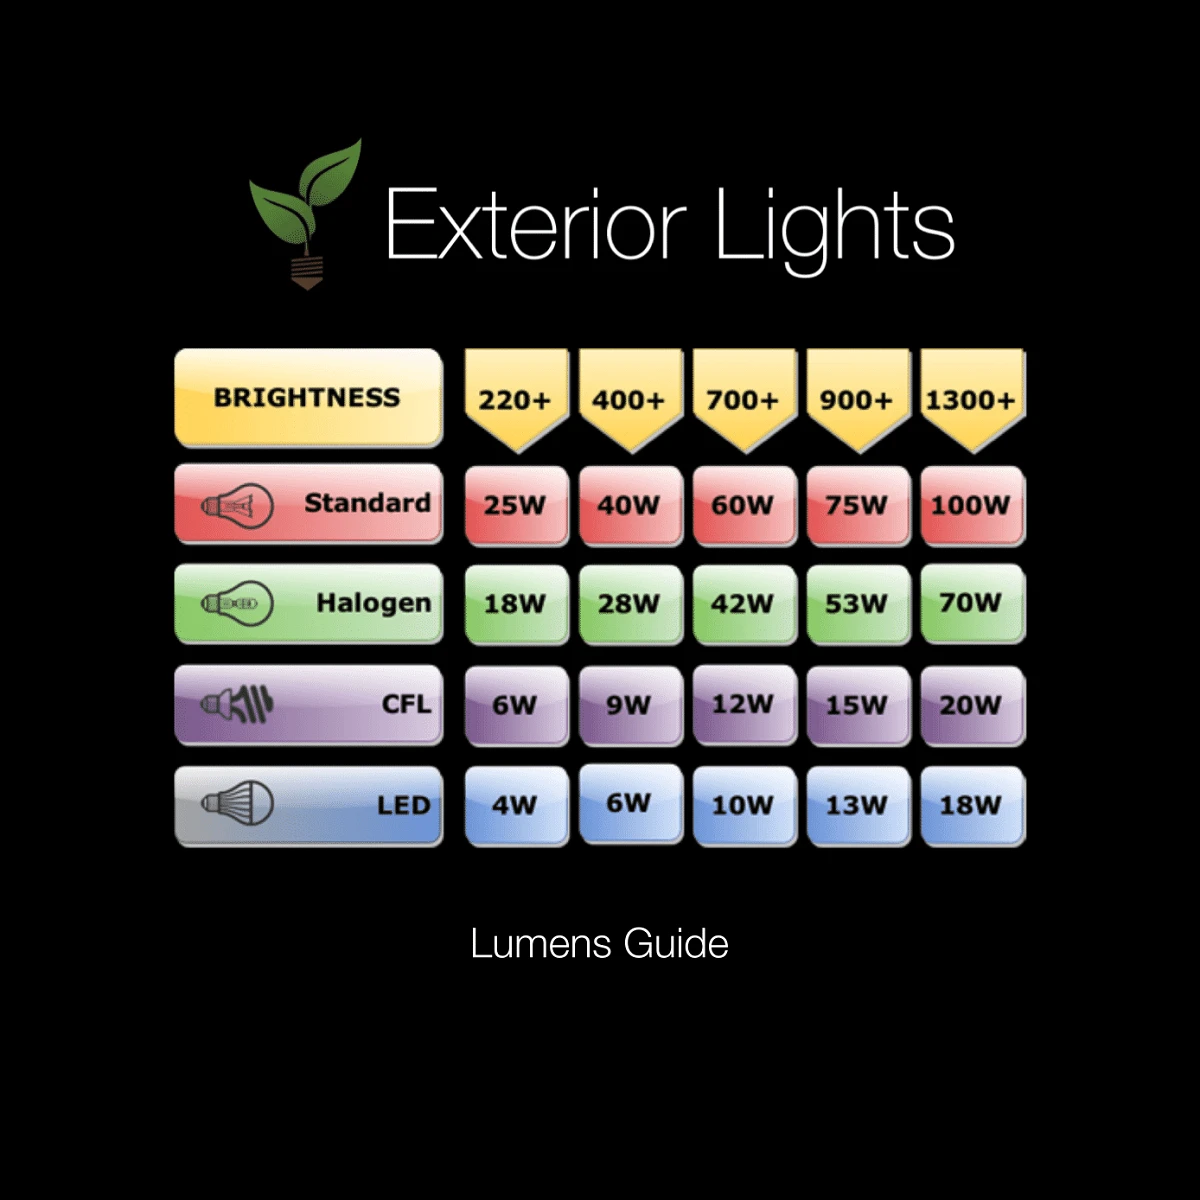
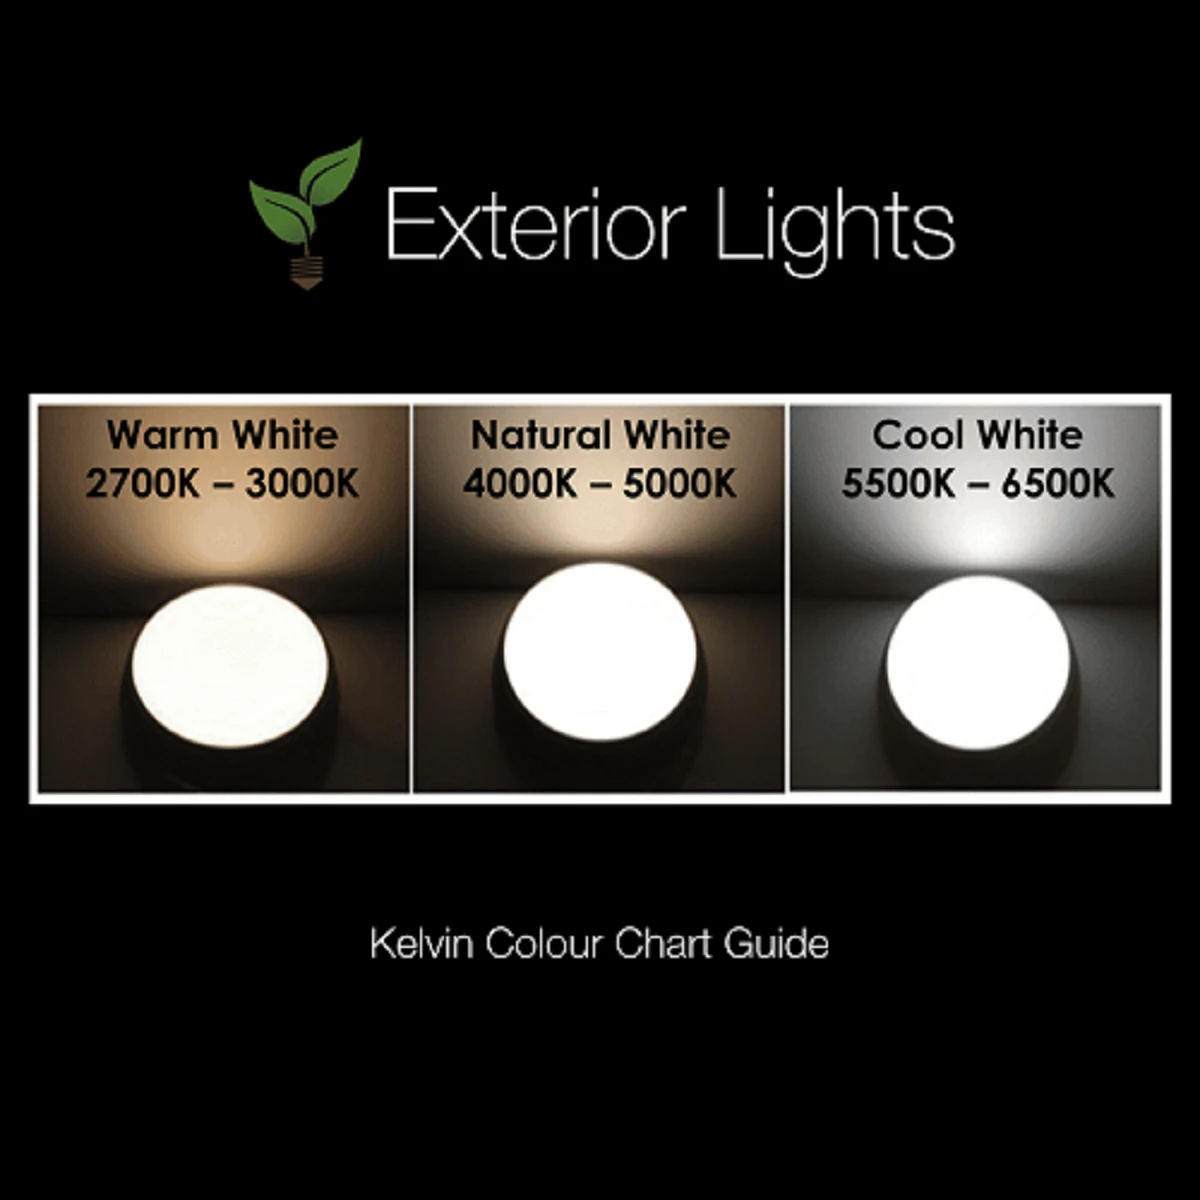
Lamp Colour (Kelvins)
The colour of a lamp is defined as a measurement called kelvins. A standard GLS light bulb in your house would
be 2,700 kelvins which is in the warm colour spectrum and a lamp with 5,000 kelvins would be at the very
cold white spectrum.
Installation – See Download for pdf instructions
Existing fittings must be completely removed before installation of a new product. Before removing the existing fitting,
carefully note the position of each set of wires.
1. Undo the two front screws (F) on stainless steel plate (E) and remove plate.
2. Undo the 6 screws (D) and washers on plastic cover C) and remove cover.
3. Hold the product in place and mark the position of the holes. Ensure that the product is level. Ensure the wall
is capable of holding the weight of the product. Take care to avoid damaging any concealed wiring and pipes. The correct
fixings should be used for brick, cavity walls or plasterboard.
4. Pull supply wires through rubber grommet on wall back
5. Fix the wall back to the wall using screws and plugs (B).
Having correctly identified the wiring from your existing light fitting, pull the wire through the grommet at the rear of
the fixture making sure that the seal is still present. Connect to the connection block inside the product in the following
way:
6. Remove the cover from the terminal block.
7. Connect the incoming live and neutral cable to the terminals. Live supply to the terminal marked L, (brown wire)
and neutral supply to the terminal marked N (blue wire) (See Below). Ensure connections are tight.
This unit is double insulated and must not be earthed. If there are any incoming earth cables, they must be joined together
and well insulated with good quality insulation tape. This is to ensure earth continuity throughout your property.
8. Check that you have correctly identified the wires.
The connections are tight.
No loose strands have been left out of the connection block Replace the cover onto the terminal block.
9. Replace the plastic cover and stainless steel plate ensuring that the screws are securely tightened.
10. Replace fuse or circuit breaker and switch on. Your light is now ready for use.
The unit must be installed in a vertical position, and fitted 2m-4.5m above the ground..
The detection range is fixed to a maximum of 7 metres.
The PIR sensor can be adjusted. The detection angle is set at
100 degrees. The duration that the lamp stays on can be altered from 6 seconds – 5 minutes by turning the “TIME” screw with
a small screwdriver. The daylight sensitivity is adjustable by turning the “BRIGHT” screw. When adjusting the sensitivity
(detection distance) in daylight it will be necessary to cover the sensor to simulate night time.
| Sensor | None, PIR Motion Sensor (passive infra red) |
|---|---|
| Additional Information | Complete with fixing accessories |
| Bulb Type Bulb type used for fittings | E27 |
| Colour Colour of fitting | Silver |
| Dimmable | Non-dimmable |
| Height | 300mm |
| IP Rating Ingress Protection - a two digit code representing water resistance. | IP44 |
| Materials | Stainless Steel |
| Max Wattage | 60W |
| Projection | 92mm |
| Sensor_Description | 100 degree detection angle |
| Voltage Voltage of fitting, Light Bulb or Transformer | 240v |
| Warranty | 2 Years |
| Width | 216mm |
Be the first to review “Bianco PIR Sensor – Outdoor Wall Light – 240v – Brushed 304 Stainless Steel E27 IP44”
Related products

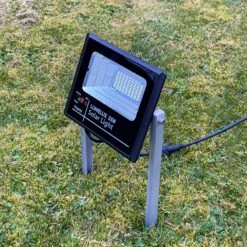
LED Flood Lights
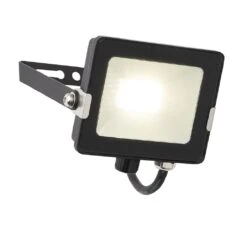
Salde IP65 20w Cool White Floodlight With Optional PIR, Photocell And Microwave Sensors – Black 240v

LED Flood Lights
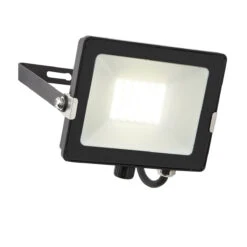
Salde IP65 30w Cool White Floodlight With Optional PIR, Photocell And Microwave Sensors – Black 240v
LED Flood Lights
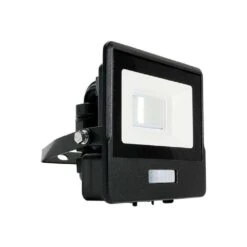
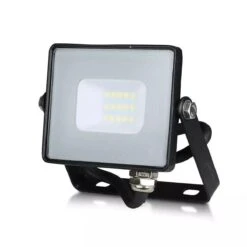
V-Tac PIR LED Floodlight 10w 220- 240v 3000k Warm White Black Frame IP65 735 Lumens
LED Flood Lights
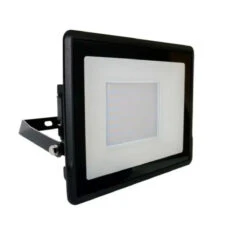
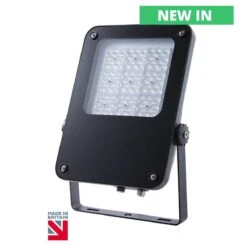
V-Tac Slimline LED Floodlight 50w 220- 240v 3000k Warm White Black Frame IP65 4000 Lumens

LED Flood Lights

LED Flood Lights
V-Tac Slimline LED Floodlight 10w 220- 240v 3000k Warm White Black Frame IP65 800 Lumens
Reviews
There are no reviews yet.